Why You Need A Brand Board For Your Business
Branding tip
Why You Need To Be Using Pinterest
Biz Tip
My #1 Tip For Branding Your Business
Branding tip
The Importance of Defining Your Brand Personality
Branding Tip
Browse around
resources
Hey!
Brand design expert
I'm Ciera
I’ve been a graphic designer since 2006. Your business deserves amazing branding no matter what phase you’re in and I’m here to help!
Why You Need A Brand Board For Your Business
BRANDING TIP
Why You Need A Brand Board For Your Business
BIZ TIP
My #1 Tip For Branding Your Business
branding tip
The Importance of Defining Your Brand Personality
branding tip
DIY Your Brand
The Template Shop
Browse around
topics
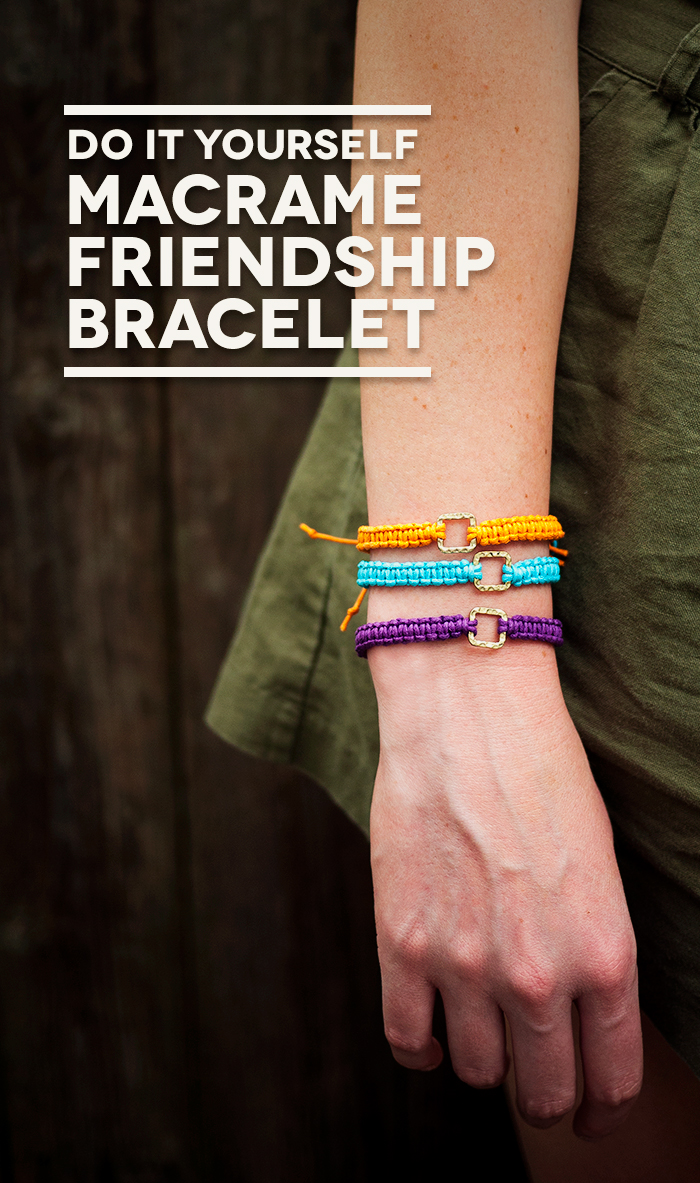
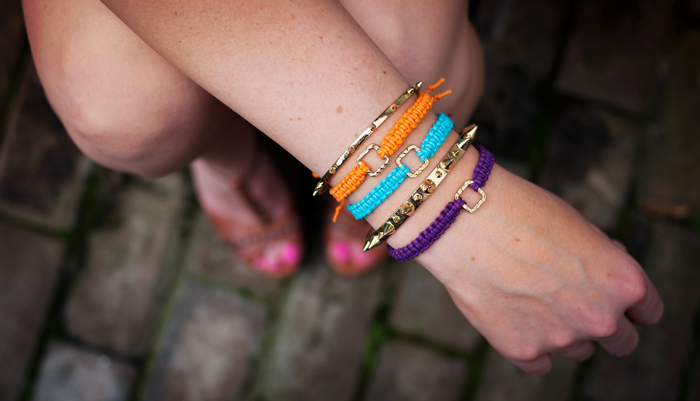
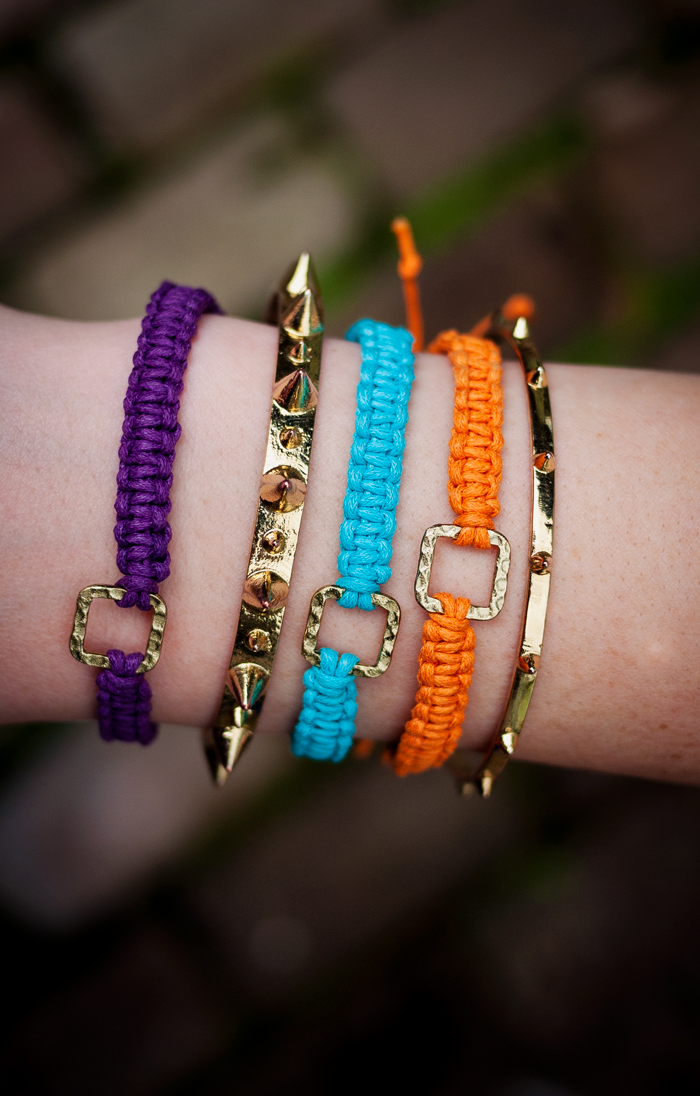
Ever since I gave out friendship bracelets at Alt, I have been wanting to make my own and I finally did! I got these really pretty antique gold square links from Kollabora and decided they would be perfect for these bracelets! I love friendship bracelets for layering with other bangles during festival season and summer and these are easy to make in a variety of colors!
YOU WILL NEED
4 yards of waxed cotton cord or embroidery thread, connector charm, scissors, tape, ruler, super glue
DIRECTIONS
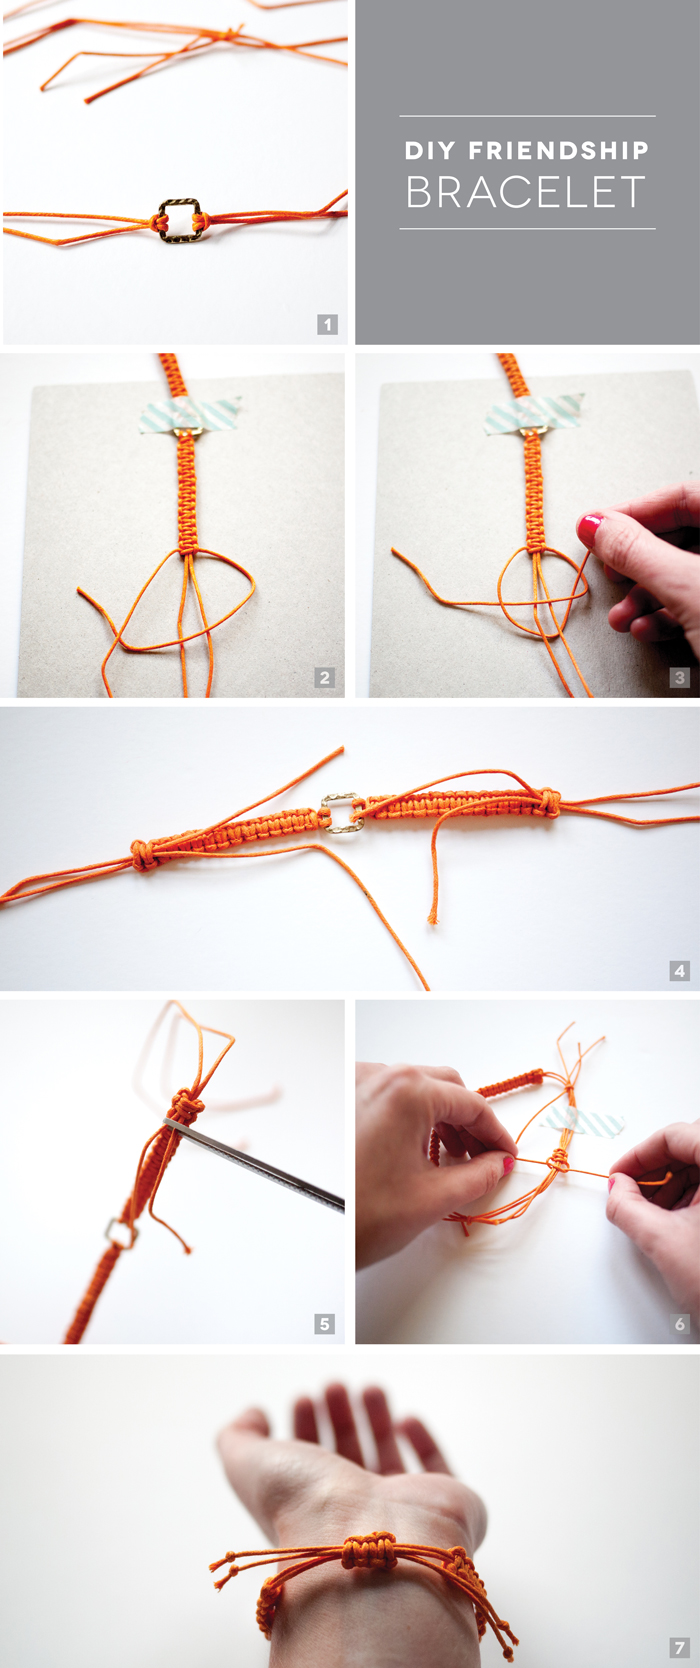
1 Cut the knotting cord into two 30 inch, two 20 inch and one 10 inch lengths. Fold the 20 inch piece in half, pull the loop through the connecter charm, fold it over, and pull the rest of the cord through the loop. Repeat the step on the other side of the charm. These strands will remain anchored.
2 Tape it to something sturdy so the bracelet is secure while you make the knots. Center the 30 inch cord under the two middle strands. Fold the right cord over the middle strands and under the left cord.
3 Pull the left cord under the right and middle strands and through the loop on the right side. Pull the strands tight and push the knot up to the top.
To finish the other side of the knot, fold the left cord over the middle strands and under the right cord. Pull the right cord under the left and middle strands and through the loop on the left side. Continue going back and forth until you get to the desired length (keep in mind that the clasp will take up approximately half an inch) and then move on to the other side. See video below.
4 To finish the knots, thread both cords up 3–4 knots along the backside. Pliers or a needle may help with this.
5 Cut the ends and dab them with super glue so that they are even more secure. Do this process to both sides.
6 To create a sliding closure, shape the bracelet into a circle and overlap the ends. Using scrap cord, temporarily tie at the ends. Take the 10 inch cord and center it under the strands. You’re going to start the knot exactly the same way you did before.
7 Create 4–5 knots and finish the ends the same way you did before. Undo the temporary ties. The two sets of middle cords become the adjustable ties of the bracelet. Adjust it to fit your wrist and trim the ends.
Thanks to Jasmine for modeling for me!
Pin
Share
Previous Story
next Story
Get the free guide to learn the top mistakes when it comes to DIY branding.
6 Ways Your DIY Branding May Be Hurting Your Business
Free Guide
© 2023 Ciera Holzenthal LLC, DBA Ciera Design Studio.
Get the free guide download by over 2,000 people!
Discover Your Brand Personality
Join Me on Insta


Thankfulness to my father who informed me regarding this website, this website is
truly remarkable.
After looking over a handful of the blog articles on your
site, I truly like your way of writing a blog.
I saved it to my bookmark webpage list and will be checking back in the near future.
Please check out my web site too and let me know your opinion.
Hi, i think that i noticed you visited my web site thus i got here to go
back the desire?.I’m attempting to in finding things to enhance
my site!I guess its ok to make use of some of your concepts!!
If you desire to take a great deal from this paragraph
then you have to apply these methods to your won weblog.
I pay a quick visit each day a few web sites and blogs to read content, except
this weblog gives quality based posts.
lovely
Great tutorial! Gotta make some. I shared this on my blog too: http://www.vixenmade.com/2013/08/diy-back-to-school-fashion.html
oh thanks Victoria!
[…] el blog de Ciera Design puedes encontrar un muy completo tutorial con fotos para hacer tus pulseras en macramé más […]
Hey Ciera,
Its really cute. Since Frienship Day is around the corner I already ordered this Tie On Friendship Bracelet for my BFF, but nevertheless I feel I can give her two now. Will try it out. It seems simple and fun and looks fantastic. In fact I am gonna make two now. 1 for her and one for me..Thanks to you..❤
[…] I was crafty in the DIY department, I’d make this cute little friendship bracelet. But I’m […]
I love your DIY.
oh man – I LOVE! i want to make 10.
thanks Molly!
I would love to try making this! If you use embroidery thread, does it also have to be waxed, or would it work with regular thread? Thank you!
Hi Madoka! I think regular embroidery thread would work, but I have not tried!
Thanks so much for your answer! I’ll give it a shot. 🙂
[…] Macrame Friendship Bracelets. They are adjustable, adorable and with these simple instruction from Ciera’s design blog, they’re also a […]
I love these bracelets and DIY! Thank you for sharing, hopefully I can be as talented and make them myself haha
-Vogue&Heels
Thanks! They are pretty easy once you get the knot down!
Such a great idea!
Wow, those look great!
http://www.shannonheartsblog.com
Thanks!!