Why You Need A Brand Board For Your Business
Branding tip
Why You Need To Be Using Pinterest
Biz Tip
My #1 Tip For Branding Your Business
Branding tip
The Importance of Defining Your Brand Personality
Branding Tip
Browse around
resources
Hey!
Brand design expert
I'm Ciera
I’ve been a graphic designer since 2006. Your business deserves amazing branding no matter what phase you’re in and I’m here to help!
Why You Need A Brand Board For Your Business
BRANDING TIP
Why You Need A Brand Board For Your Business
BIZ TIP
My #1 Tip For Branding Your Business
branding tip
The Importance of Defining Your Brand Personality
branding tip
DIY Your Brand
The Template Shop
Browse around
topics
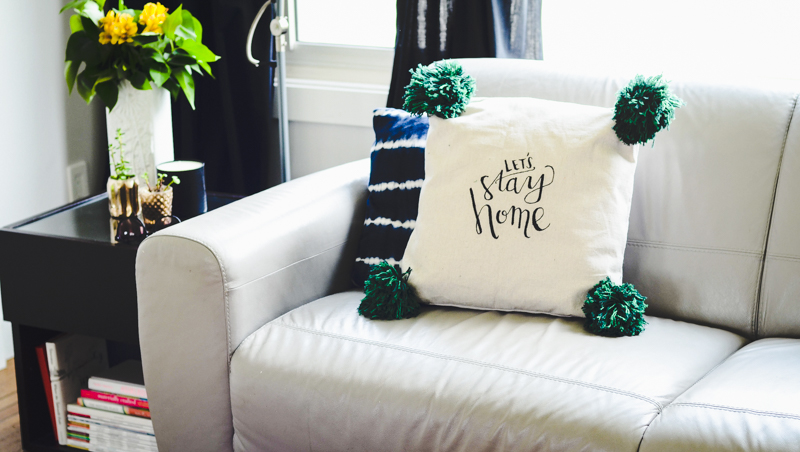
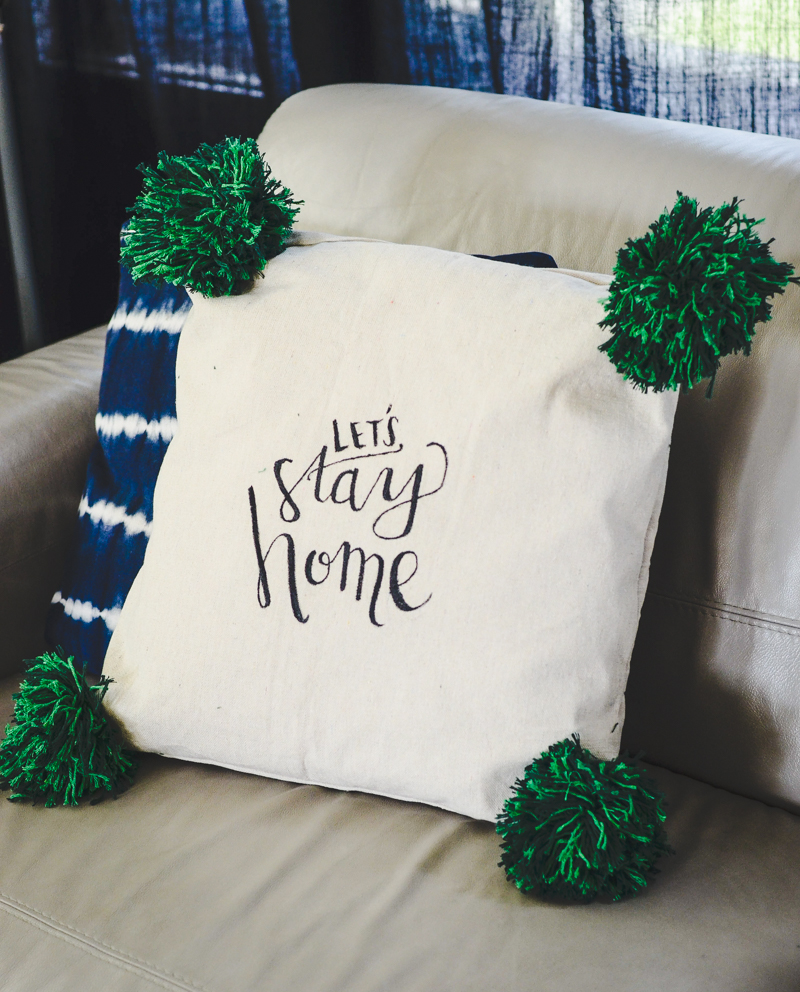
Let’s stay home, okay? Just because the pillow said so. I am so in love with our new hand lettered pillow (and the sentiment) and my kiddos are crazy in love with the giant pom poms on each of the corners. I’ve been slowly filling up our new couches with fun throw pillows, and have been admiring some of the hand lettered beauties on Etsy. I decided that I could make my own and add some giant pom poms for a pop of color and fun. If you’re not a hand letterer, that’s a-okay too, I’ve got a free printable template of this phrase for you! You could also take any phrase printed from the web or a font you like to use as a template.
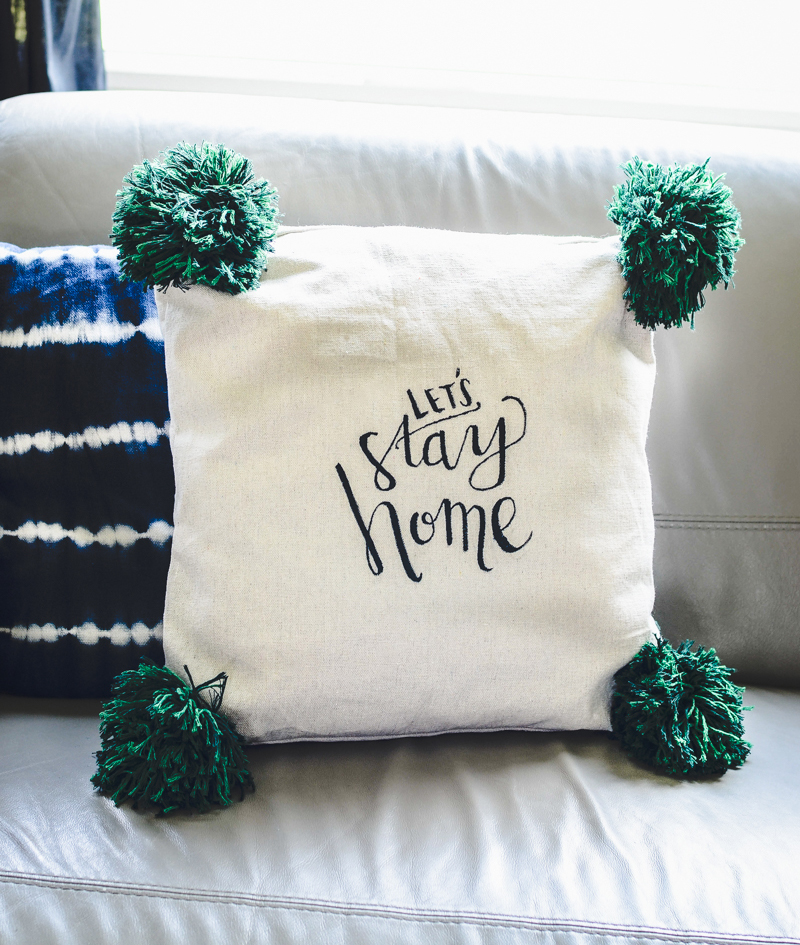
It took me a just a couple hours in one afternoon to create this pillow and I know it will be loved in our home for a long time. I’d originally planned on lettering a bold, adventurous phrase on the pillow, but honestly- the older my hubby and I get (and since having kids) we’re such homebodies! We love to be at home. So instead I chose the cozy, ‘Let’s Stay Home’ phrase that makes me want to curl up on the couch and catch up on trash TV even more than I did before. Here’s what you’ll need to make your own:
Pillow Cover (or grab a pre-made pillow to customize!)
• Drop cloth (unwaxed)
• Sewing machine with white or cream thread
• Sewing scissors
• Pillow form
To Customize your Pillow
• Fabric paint
• Small paint brush
• Template of your choosing (get ours below!)
• Pencil
• Yarn in colors of your choice
• Embroidery needle
• Round lid the size you would like your pom poms
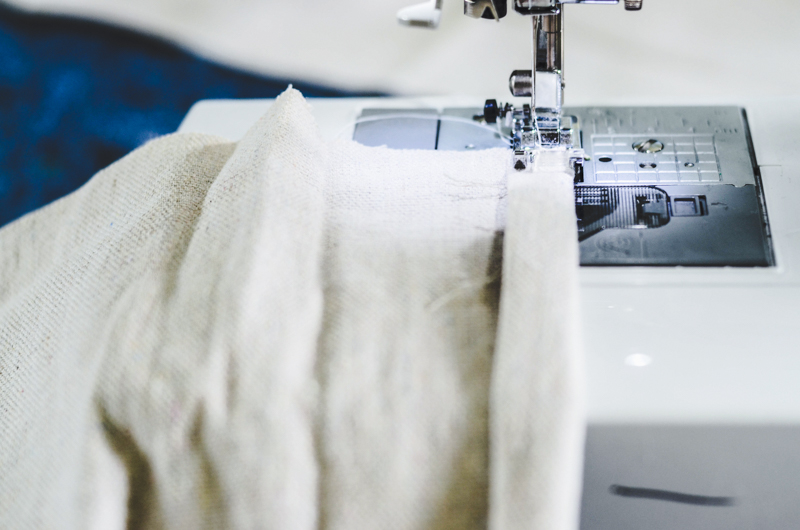
Before you start, you’ll want to decide if you’d like to make your own throw pillow, or customize an assembled pillow. I chose to make an envelope style pillow out of a piece of drop cloth. I bought the drop cloth to make a pillow before Christmas and have now made 3 pillows, a tree skirt and a couple wall hangings. I love working with them- and they’re so affordable! For instructions on how I make my pillows, you can hop over to this post.
Once you have a pillow cover ready to customize, you’ll need to pick your lettering. You can download and print a free copy of the lettering I created here.
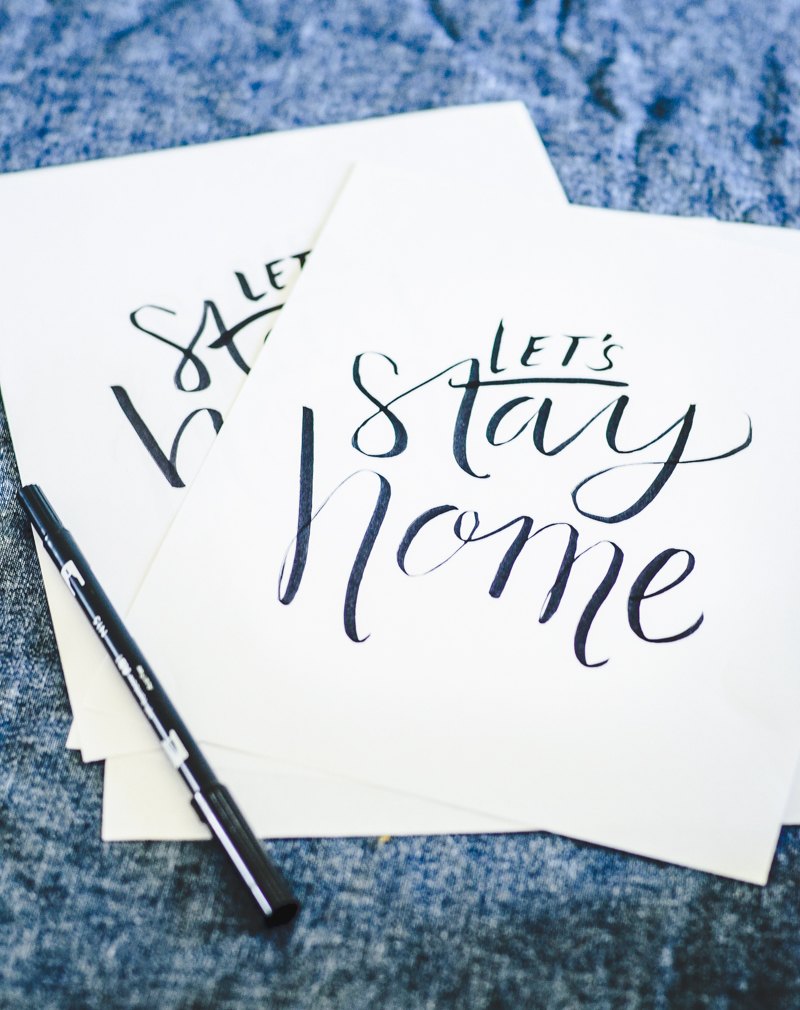
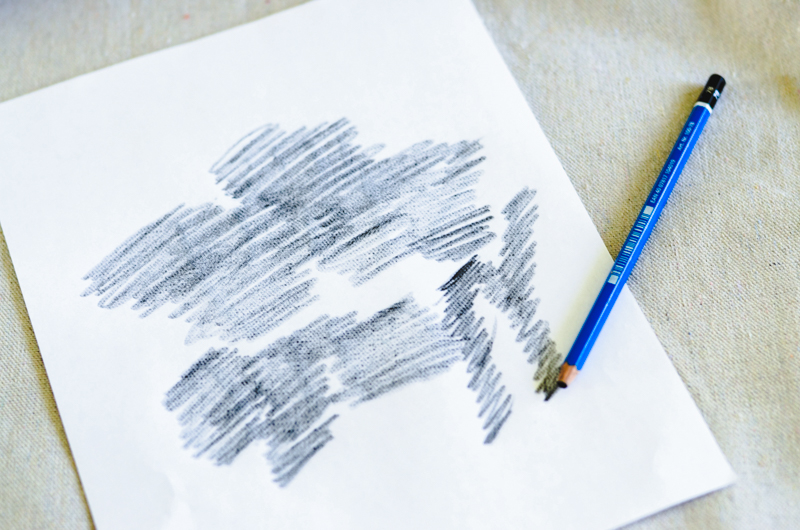
Turn your printed template over and use a pencil to color over the design (on the back). I like to use as heavy as a pencil as available (I used 7B for this) since it transfers without much effort. Lay the design on your pillow and trace over the template, pressing firmly to transfer a light imprint of the design to your pillow cover.
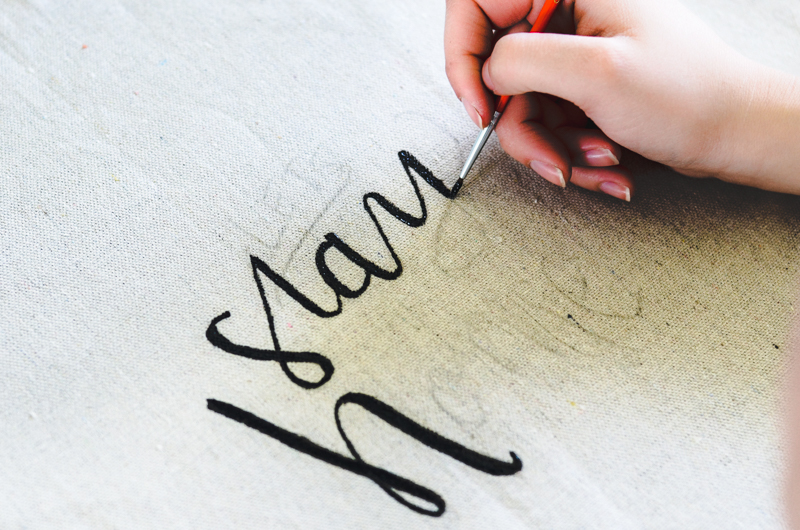
Now you’re ready to get painting! My favourite fabric paint is Tulip Soft Matte Black Paint because it kind of looks like graphite paint if you don’t iron it and it doesn’t have that awful shiny look of most fabric paints. Paint over your template transfer, slowly filling in the thicker lines.
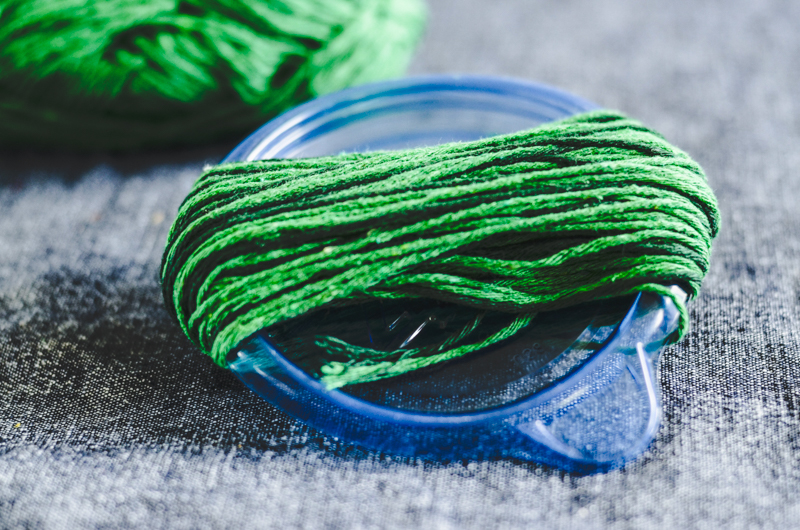
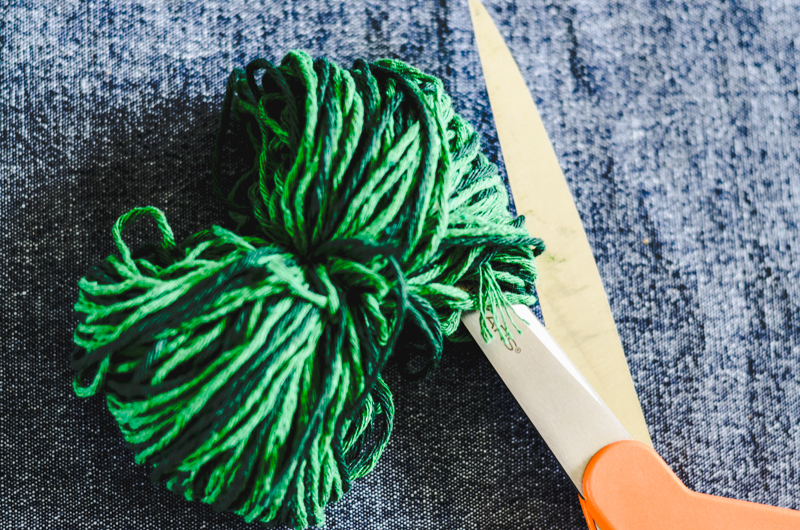
Let your pillow dry and get started on the pom poms! I used two whole balls of yarn (although they weren’t large skeins) for this. I chose to have two shades of green in my pom poms, but you could have one or even three. Choose a circular lid that’s the size you would like your pom poms and start wrapping your yarn around the centre. Keep on wrapping until you have more yarn on than you think is necessary. Slide your yarn off your circular lid and tie a tight piece of yarn around the centre, snipping the loops on each end to create your pom poms.
When your pom poms have been created and your pillow case is dry, you can attach your pom poms using matching yarn and an embroidery needle (the needle with the biggest eye you can find). Tie a knot in a length of yarn and start from the inside of the pillow cover, looping in and out of the pom pom, then tying it off.
That’s all there is to it! I’m so happy I took the time to create my own hand lettered pillow instead of dishing out for some of the ones that I’d found online. If you were to create a hand lettered pillow, what would yours say? And are you a fan of pom poms as much as I am?

About the author: Colleen is the DIY and lifestyle blogger behind Lemon Thistle where she shares printable art and hands on tutorials for DIY home decor, parties and gifts.
Pin
Share
Previous Story
next Story
Get the free guide to learn the top mistakes when it comes to DIY branding.
6 Ways Your DIY Branding May Be Hurting Your Business
Free Guide
© 2023 Ciera Holzenthal LLC, DBA Ciera Design Studio.
Get the free guide download by over 2,000 people!
Discover Your Brand Personality
Join Me on Insta
Love love love!
Thanks so much Andi! We’re pretty in love with it too 🙂