Why You Need A Brand Board For Your Business
Branding tip
Why You Need To Be Using Pinterest
Biz Tip
My #1 Tip For Branding Your Business
Branding tip
The Importance of Defining Your Brand Personality
Branding Tip
Browse around
resources
Hey!
Brand design expert
I'm Ciera
I’ve been a graphic designer since 2006. Your business deserves amazing branding no matter what phase you’re in and I’m here to help!
Why You Need A Brand Board For Your Business
BRANDING TIP
Why You Need A Brand Board For Your Business
BIZ TIP
My #1 Tip For Branding Your Business
branding tip
The Importance of Defining Your Brand Personality
branding tip
DIY Your Brand
The Template Shop
Browse around
topics
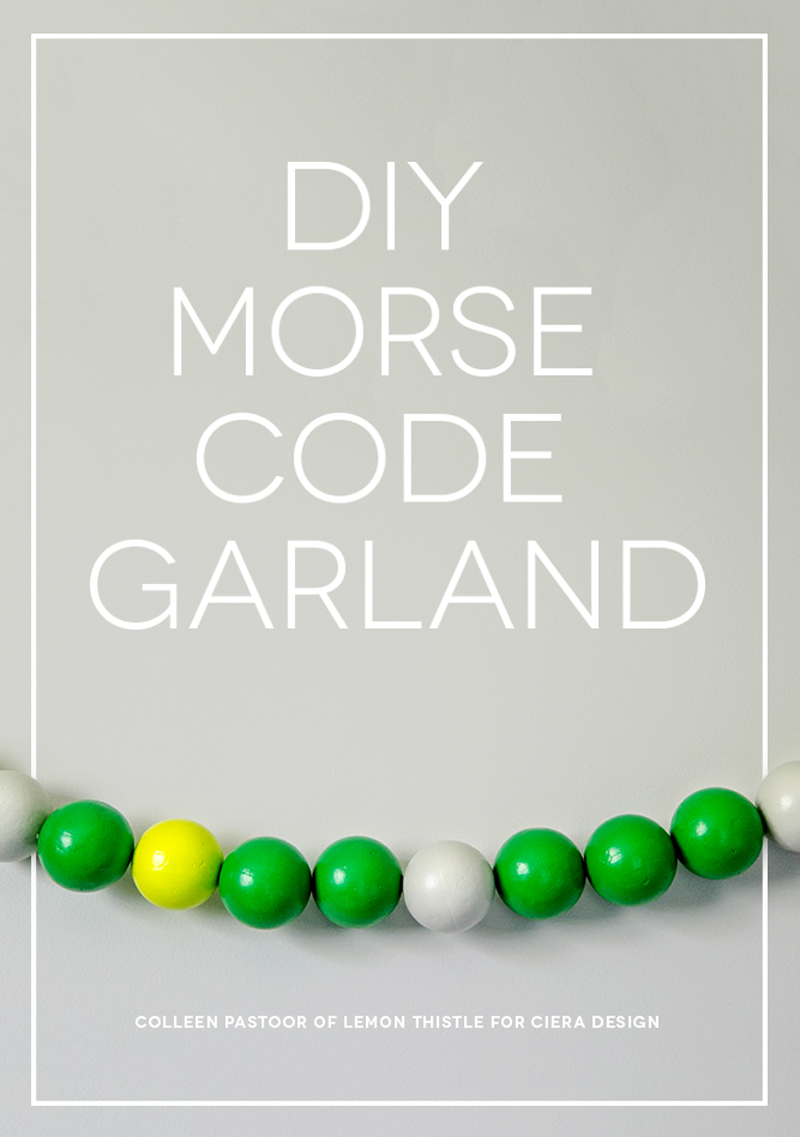
Garlands are such a fun way to dress up a space. Although traditionally reserved for parties, garlands can add a touch of whimsy and childlike fun to any space. Lately, I’ve spotted them popping up in home designs, especially children’s rooms. My home is no different, I’ve fallen in love and I can’t stop making them. Currently, my hallway, office, kids room, and master bedroom all have at least one. This particular garland is extra fun since it contains a secret message.
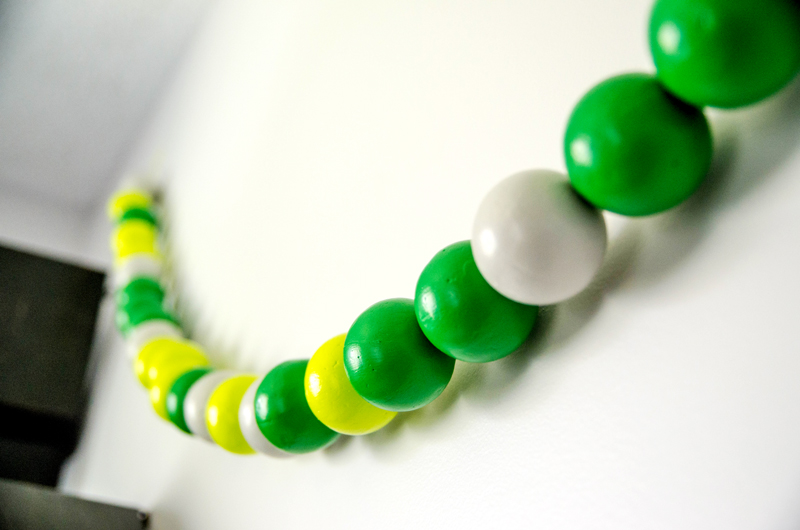
By combining different colors of ‘beads’ for dots, dashes and spaces, you can create a garland that spells out a surprise message. I made mine to say ‘Love You’ and hung it in my kiddos’ nursery. This is a quick, simple and affordable project that makes a big impact.
Here’s what you’ll need to make your own:
- Styrofoam balls
- Wooden skewers
- Floral foam block
- String or Wool
- Paint in three colors
- Paint brushes
- Bobby pin
1. Before you get started, choose the phrase you’d like to spell. Keep in mind morse code makes a long garland for even the shortest of phrases. Then, map out your garland. You will need one ball for each dash, dot and space – I used 30.
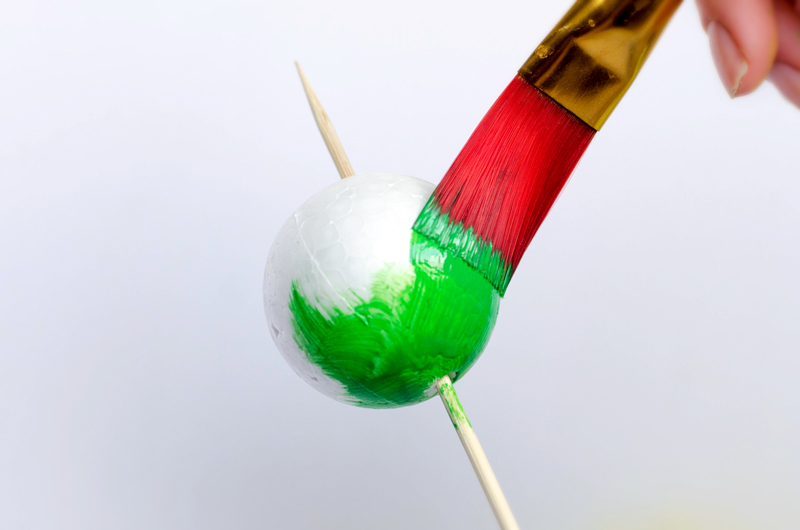
2. Once you know how many you need of each color, skewer the balls carefully on to your wooden skewers. Make sure to leave a large enough gap between the balls to be able to paint all around. I put two to a skewer.
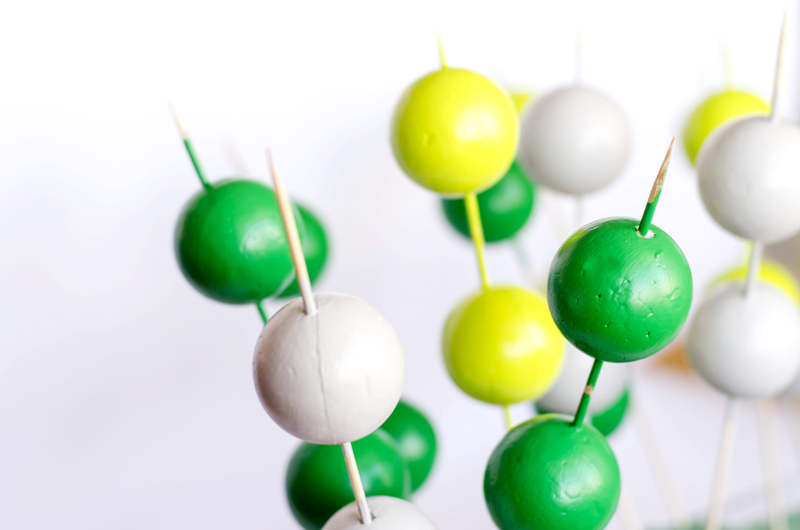
3. The type of paint you use will depend on how many coats you need to do. I did three coats on mine using a Multi Surface Acrylic Paint. The colors I chose were from Americana in Satin: Chartreuse, Overcast and Turf Green. The more paint you put on in each layer, the better it will hide the bumpy texture of the styrofoam balls. I should mention that this is a little time consuming. Spray painting was my first thought, but spray paint and styrofoam do not like each other! The spray paint caused the foam balls to shrivel up (not the look I was going for). A foam block (I used floral foam) can be used to keep the skewers standing while your paint dries.
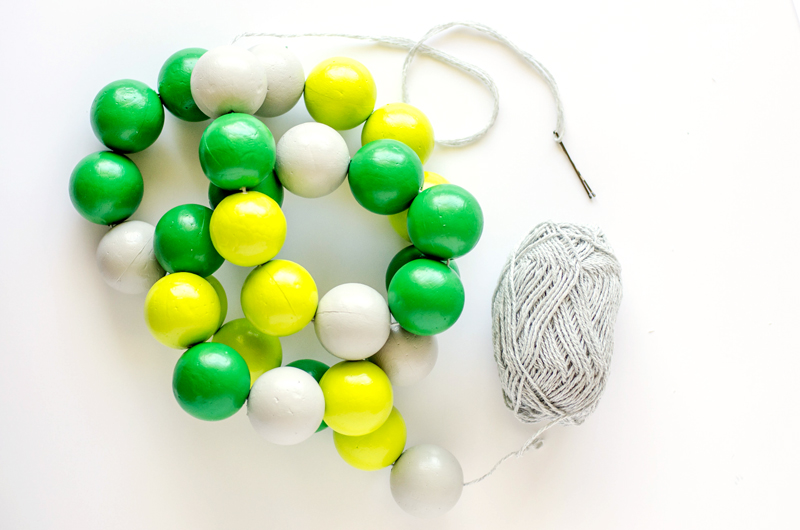
4. When they are completely dry, take them off your skewers carefully. I found the best way to do this was twist. Since there will be a build up of paint around the skewers just pulling caused paint to pull up.
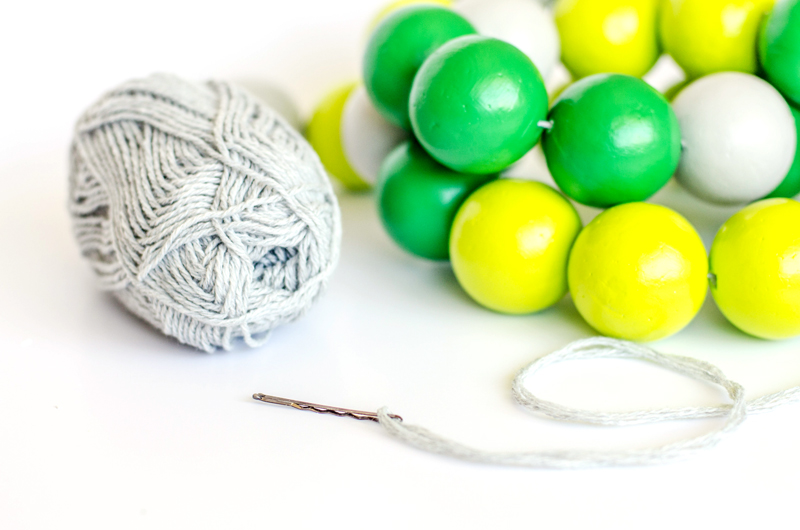
5. To thread your styrofoam balls on to your string (I used a gray craft yarn), I cheated and used a bobby pin. I like to use bobby pins in place of a needle for some projects for a few reasons. The most notable is that I don’t poke myself! But also, it’s much easier to ‘thread’ and is long enough to grab from the other side of the styrofoam ball. Just pop the thread in between and bend it flat.
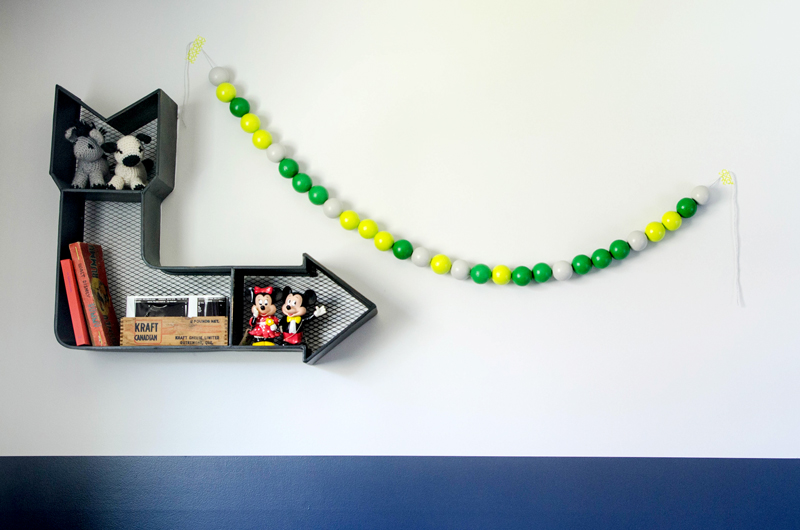
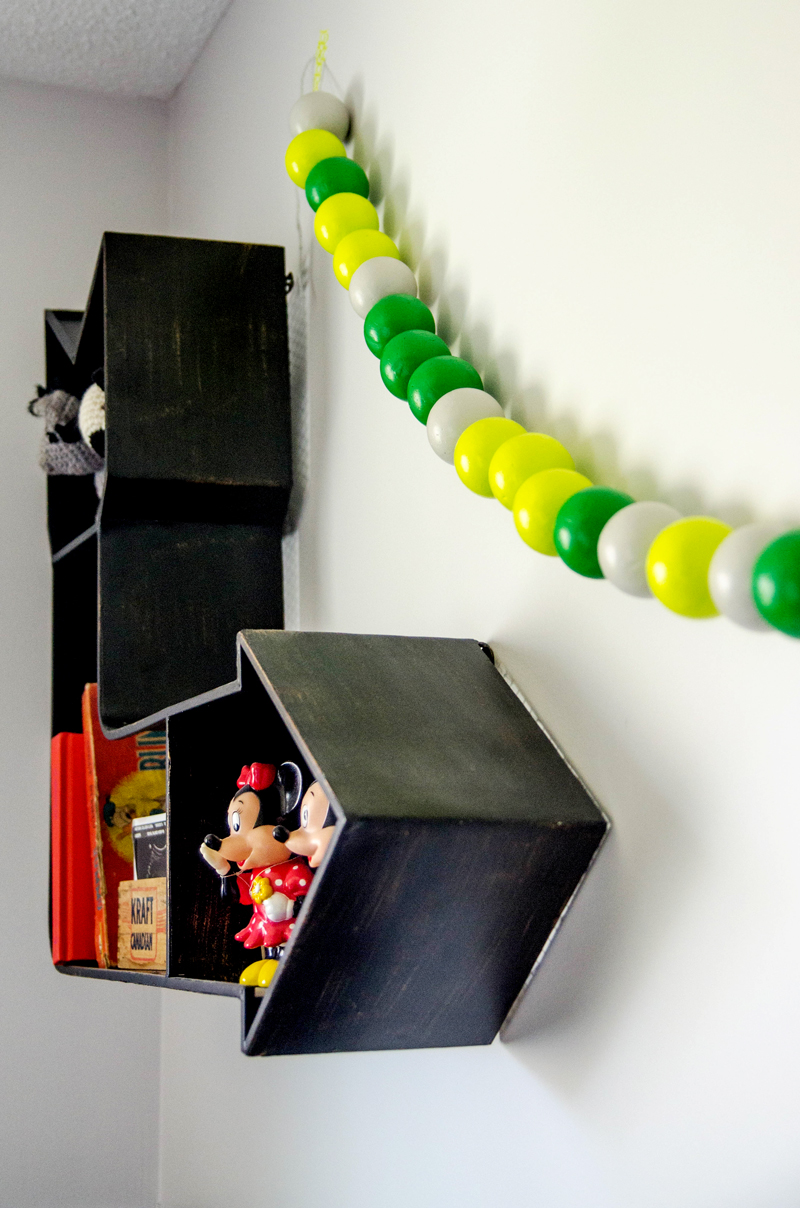
Now you’re ready to hang it! It’s really simple and it’s light enough that you can hang it with a fun washi tape (no nails in the wall makes my hubby one happy guy). I love that you can have a sentimental or fun message on your wall without having to explain it to everyone that walks by, plus it sure cheers up my kids’ space! What message would you make with yours?
About the author: Colleen is the DIY and lifestyle blogger behind Lemon Thistle where she shares printable art and hands on tutorials for DIY home decor, parties and gifts.
Pin
Share
Previous Story
next Story
Get the free guide to learn the top mistakes when it comes to DIY branding.
6 Ways Your DIY Branding May Be Hurting Your Business
Free Guide
© 2023 Ciera Holzenthal LLC, DBA Ciera Design Studio.
Get the free guide download by over 2,000 people!
Discover Your Brand Personality
Join Me on Insta
So clever! I love it 🙂
Thanks so much Julia! I’m super happy with it 🙂