


DESIGN & BUSINESS ARTICLES FOR
a Better Brand!
the blog
Life as a Freelance Designer
filed under


Get the free guide to learn the top mistakes when it comes to DIY branding.
Brand Resource
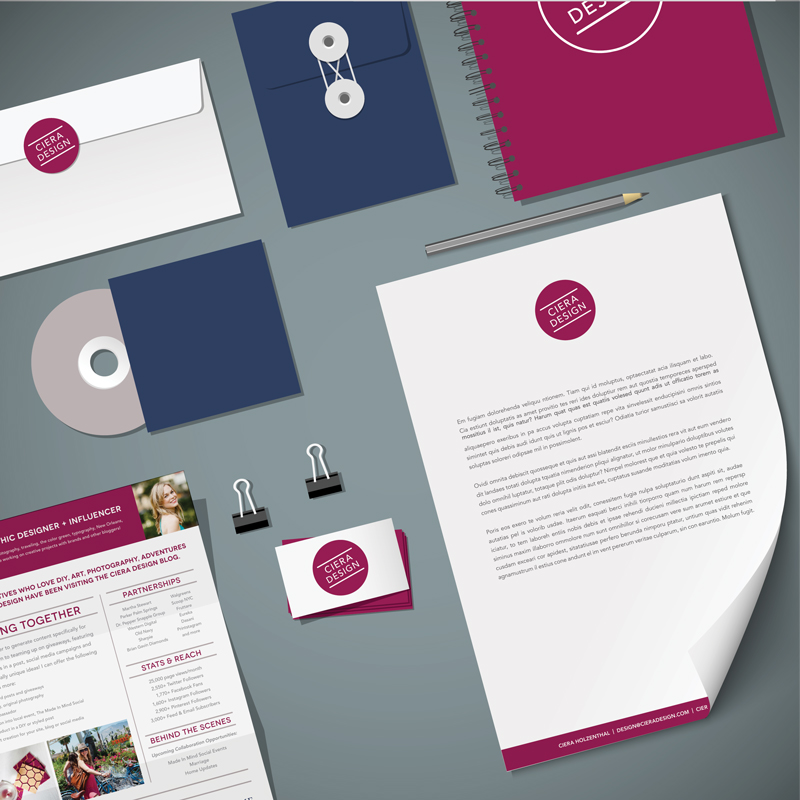
6 Ways Your DIY Branding May Be Hurting Your Business
Free Guide


